It turns out frosting a cake takes some skills. Skills I apparently do not have.

It also turns out if you are a disaster of a froster, chocolate-raspberry rapture makes up for a multitude of sins.

But, since I am confessing, I might as well also admit that this cake isn't even remotely level. After I took the cake layers out of their pans, I felt like I had started to play that game called 'which one of these things...

Is not like the others?'

Yep, when I placed/shoved all three pans into my not-meant-to-hold-3-cake-pans oven, one accidentally went up on the lip of my baking rack.
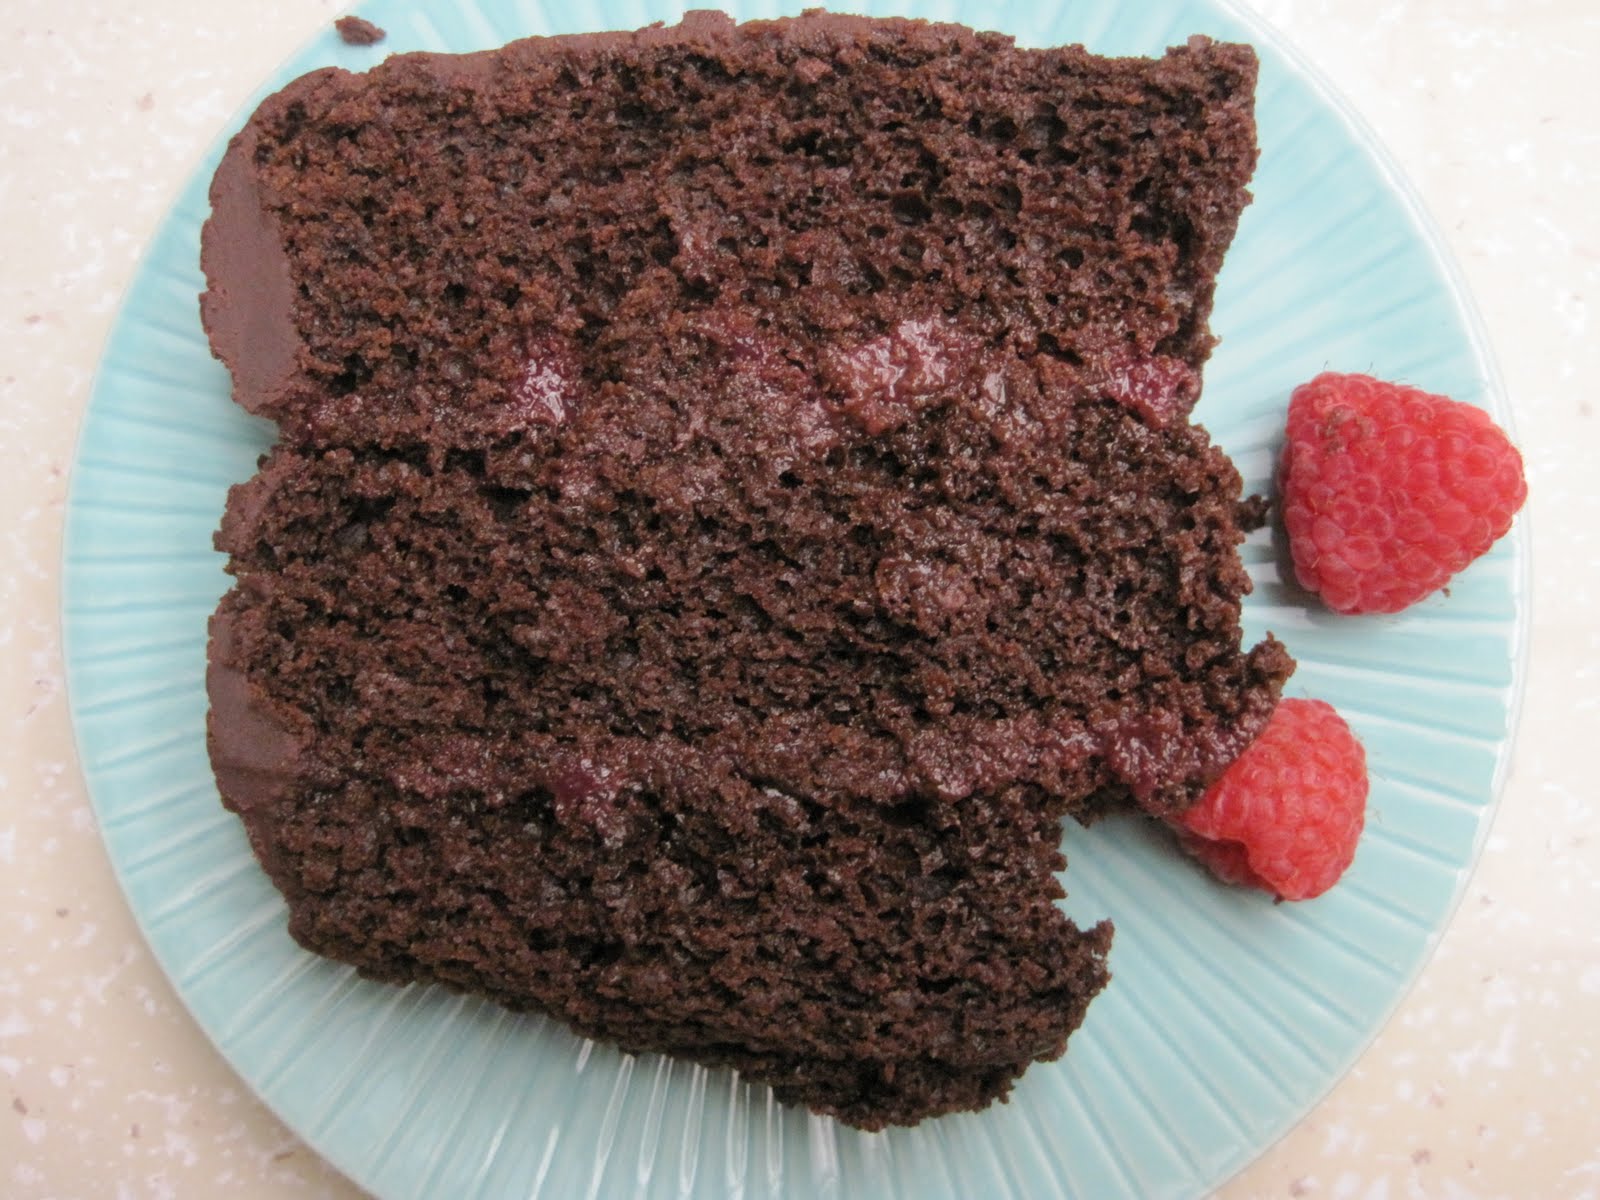
But, listen, even if you frost a crooked cake like a 4-year old, it will be okay as long as the cake is to die for. Which this one absolutely, positively was. The cake itself is moist, and the chocolate flavor is deep, nuanced, but not too sweet. And, oh the raspberry filling. It is so bright, and matches the chocolate perfectly. This cake is probably the best I have ever made.
So, here's to making poorly-frosted, crooked cakes, that can still turn out wonderful.
To make this cake, you start by chopping up some dark chocolate. Make sure it is good quality. I like to use around 70%.

In the meantime, brew some coffee. Combining coffee with the chocolate doesn't actually make things taste like coffee; instead, it amplifies the chocolate taste.

And, combine the chocolate with the coffee. Try not to drink it.

Now, sift together your dry ingredients: sugar, flour, baking powder, baking soda, salt, and cocoa powder.

In a separate bowl, beat three eggs until they are lemon colored and slightly thickened.

Add some oil, buttermilk, and vanilla to the eggs. Then add in the dry ingredients.

Mix until just combined.

Get the batter into three 9-inch cake pans. And, just fyi, it is completely acceptable to use a 9-inch spring-form pan if you don't have 3 regular cake pans. Good to know, right?

Bake for 45 minutes, or until a toothpick comes out clean, and your house smells like heaven.

Let those cook completely in the pan on a rack. Then, time to remove the layers. Mine came out just fine.

Well, they came out of the pan just fine. The crookedness, well, there is not fix for that.
Now, if you want, you can wrap these layers up in cling-wrap for a day before you assemble the cake. When you are ready to assemble, start with the raspberry filling. Whaz up some defrosted frozen raspberries in a food processor. Then, press those through a strainer.

This should remove the seeds, and leave you with a gorgeous raspberry liquid.

Bring the liquid to a boil, with some sugar and cornstarch. Remove from the heat, and let cool completely.

In addition to the lovely raspberry filling, you need to make a ganache. So, chop up some more chocolate. And, in a small sauce pan, whisk together heavy whipping cream (aka heavy cream), sugar, and light corn syrup. Bring that to a boil.

Remove from the heat and whisk in the chocolate. Then whisk in the butter.

At the end, you should have a gorgeous, shiny ganache. But, you should refrigerator it for about 30-40 minutes to get it to spreadable consistency.

Then, time to assemble! And, fair warning, if you think this will take 15 minutes, try more like 45. Will I ever learn to estimate these things correctly? Start with a cake layer.

Add some raspberry filling.

You are *supposed* to do it only within a 1/4 inch of the edge to prevent it from spilling over the edge when you put the other layers on top. As you can see, I did not pay attention to this direction.

Time for more raspberry filling.

Add the last cake layer.

Then frost. Or at least make an embarrassing attempt. Smoothing it over a few times can 'help'.

I garnished mine with some raspberries on the top.

It looks better from the aerial view.

Now you can chill it for up to 3 days before bringing it back up to room temperature to serve it. But, if you were able to resist this,

I would be worried. Why ever would you keep something this wonderful from yourself?
Chocolate Layer Cake with Raspberry Filling (adapted from
epicurious and
smittenkitchen)
Ingredients:For cake layers:
3 ounces fine-quality semi-sweet chocolate
1 1/2 cups hot brewed coffee
3 cups sugar
2 1/2 cups all purposed flour
1 1/2 cups unsweetened cocoa powder (not Dutch processed)
2 tsp baking soda
3/4 tsp baking powder
1 1/4 tsp salt
3 large eggs
3/4 cup vegetable oil
1 1/2 cups well-shaken buttermilk
3/4 tsp vanilla
For ganache frosting:
8 ounces fine-quality semi-sweet chocolate
1/2 cup heavy cream (aka heavy whipping cream)
1 Tablespoon sugar
1 Tablespoon light corn syrup
2 Tablespoons unsalted butter
For raspberry filling:
20 ounces frozen raspberries, defrosted
1/2 cup sugar
2 Tablespoons cornstarch
Directions:
Make cake layers:
Preheat oven to 300. Grease 3 9-inch cake pans* and line bottoms with parchment paper.
Finely chop chocolate and in a bowl combine with hot coffee. Let mixture stand, stirring occasionally, until the chocolate is melted and mixture is smooth.
Into a large bowl sift together sugar, flour, cocoa powder, baking soda, baking powder, and salt. In another large bowl, with an electric mixer beat eggs until thickened lightly and lemon colored (about 3 minutes, with a good handmixer or stand-mixer). Slowly add oil, buttermilk, vanilla, and melted chocolate mixture to the eggs. Beat until well combined. Add sugar mixture and beat on medium speed until just combined. Divide batter between pans and bake in middle of oven until a test inserted in the center comes out clear, about 45 minutes.
Cool layers completely in pans on racks. Run a thin knife around edges of pans and invert layers onto racks. Carefully remove parchment. Cake layers may be made 1 day ahead and kept, wrapped well in plastic wrap at room temperature.**
Make frosting:
Finely chop chocolate. In a small sauce pan, bring cream, sugar, and corn syrup to a boil over moderately low heat, whisking until sugar is dissolved. Remove pan from heat and add chocolate, whisking until chocolate is melted. Cut butter into pieces and add to frosting, whisking until smooth.
Transfer frosting to a bowl and cool, stirring occasionally, until spreadable.***
Make raspberry filling:
Puree raspberries in a food processor. Press through a fine mesh strainer with the back of a spoon, removing seeds. Heat in a small sauce pan with sugar and cornstarch, until it boils, stirring occasionally.
Cool completely before spreading thinly over layers.
Assemble cake:
Spread a thin layer of raspberry filling between each layer, and spread the frosting over the top and sides. Cake keeps, covered and chilled, 3 days. Bring up to room temperature before serving.
*Both epicuious and smittenkitchen have you use 2 10-inch cake pans, which I don't have. But, as long as you adjust the baking time to 45 minutes, 3 9-inch cakes pans (or springform pans) work just fine.
**My cake layers were a little bit delicate. They never split in two, but I had to be careful when maneuvering them.
***I chilled my for 45 minutes, which was a tad too long. Try 30 minutes and check.
 Look, I love the joyofbaking.com. It is a gift to all aspiring bakers. That is, unless you are looking for the perfect pumpkin chocolate chip cookie recipe... I've made joyofbaking's recipe a couple of times and it is just okay. But, come on, when you have two star ingredients like pumpkin and chocolate,
 your cookie should come out fantastic.
 Next, cream your butter and sugar.
 Add in your pumpkin, an egg, and vanilla.
 Beat that. Then add in your dry ingredients.
 Stir until just about incorporated.
 Add your chocolate chips.
 Then stir just until everything is incorporated.
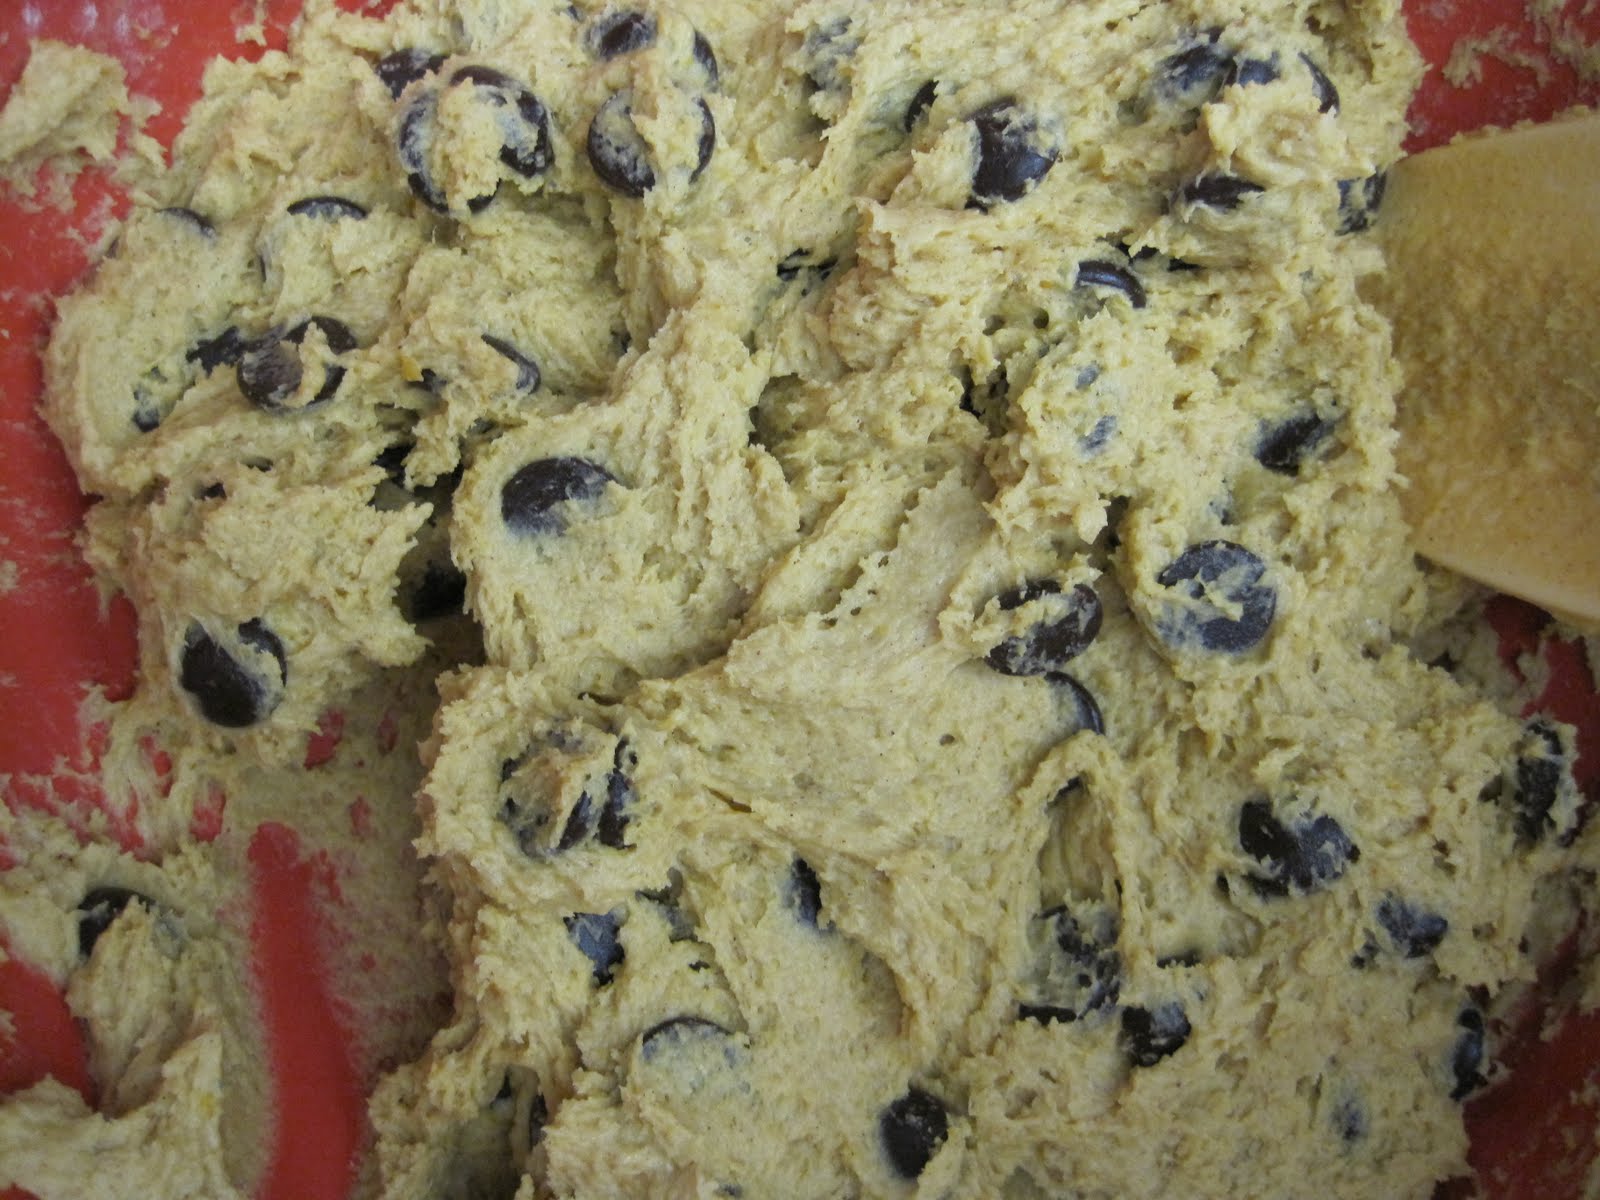 Drop the cookies onto a parchment-lined baking sheet.
 (I love how wonky they look.)
 Remove to a cooling rack.
 And, enjoy the (better) beginning to the pumpkin season!