Showing posts with label pumpkin. Show all posts

Thursday, November 10, 2011

Perfectly Perfect Pumpkin Pancakes

I'm just going to go ahead and say that these are the best pancakes in the history of all time.  Of course they have pumpkin, which, in my book, gives them a leg up.  But, what is shocking, is that these are perfectly perfect pancakes.  This is pretty surprising since they involve pumpkin, and, at least in my experience, pumpkin can do funny things to baked goods.  But, these are the real pancake deal.   
Unlike many pancakes, these behave exactly as you want them to when you are cooking.  They never spread too thin or remain too thick.  Flipping them is a dream.  And, you wind up with a pancake that is light, fluffy, and perfect. 

I could, and I do, gobble them up.

Especially when they are topped with vanilla yogurt and some lightly toasted walnuts.

Fair warning, though, in order to get a perfectly perfect pancake, there is an extra step involved.  Rather than just incorporating the eggs straight-away, you whip up the eggs whites.  This is, I am quite sure, the key to their light and fluffy consistency.  This doesn't take long, nor does it require skill, but it is a bit of an extra (very worth it) step.

Start by whisking your dry ingredients together.

After separating your eggs, mix the pumpkin together with melted butter, milk, egg yolks, and vanilla.
 
Stir the wet ingredients into the dry ingredients.
Whip up the egg whites.  Then, add in the egg whites, in three batches. 

Be sure to be nice when you fold in the egg whites so the bubbles in the whites don't totally deconstruct.  This may take longer than you think.

Next, cook them in your skillet. 
 
The flipping is so easy. 
 
Now... time to gobble them up!
Like I said, I am a fan of the yogurt-walnut combo, but I'm sure maple syrup won't disappoint.


Pumpkin Pancakes (adapted from epicurious)
Ingredients:
1 1/4 cups unbleached all-purpose flour
3 Tablespoons sugar
2 teaspoons baking powder
3/4-1 teaspoon cinnamon
1 pinch nutmeg (about 1/8 tsp)
1/2 tsp ginger
3/4 tsp salt
1 1/3 cup milk
3/4 cup canned pumpkin
4 large eggs, separated
1/4 cup (1/2 stick) unsalted butter, melted
1 teaspoon vanilla extract

Directions:
Whisk the first 5 ingredients into a large bowl.  Whisk milk, pumpkin, egg yolks, melted butter and vanilla in a medium bowl.  Add the pumpkin mixture to the dry ingredients.  Whisk just until smooth (batter will be thick).  Using an electric mixer, beat eggs white in another medium bowl until stiff but not dry.  Fold whites into batter in 2-3 additions.  Brush large nonstick skilled with oil; heat over medium heat.  Working in batches, pour by 1/3 cup-fulls into skilled.  Cook until bubble form on surface of pancakes and bottoms are brown, about 1 1/2 minutes per side.  Repeat with remaining batter, brushing skillet with oil between batches.*

*Keep the finished pancakes on a plate in a 200 degree oven, while you finish the rest of the batter.

Saturday, October 30, 2010

Better Pumpkin Chocolate Chip Cookies

Look, I love the joyofbaking.com. It is a gift to all aspiring bakers. That is, unless you are looking for the perfect pumpkin chocolate chip cookie recipe... I've made joyofbaking's recipe a couple of times and it is just okay. But, come on, when you have two star ingredients like pumpkin and chocolate,
your cookie should come out fantastic.

So, for this season of pumpkin baked deliciousness, I have committed myself to a new recipe. And believe me, it delivers.

Start with your dry ingredients... hello, holiday spices!
Next, cream your butter and sugar.
Add in your pumpkin, an egg, and vanilla.
Beat that. Then add in your dry ingredients.
Stir until just about incorporated.
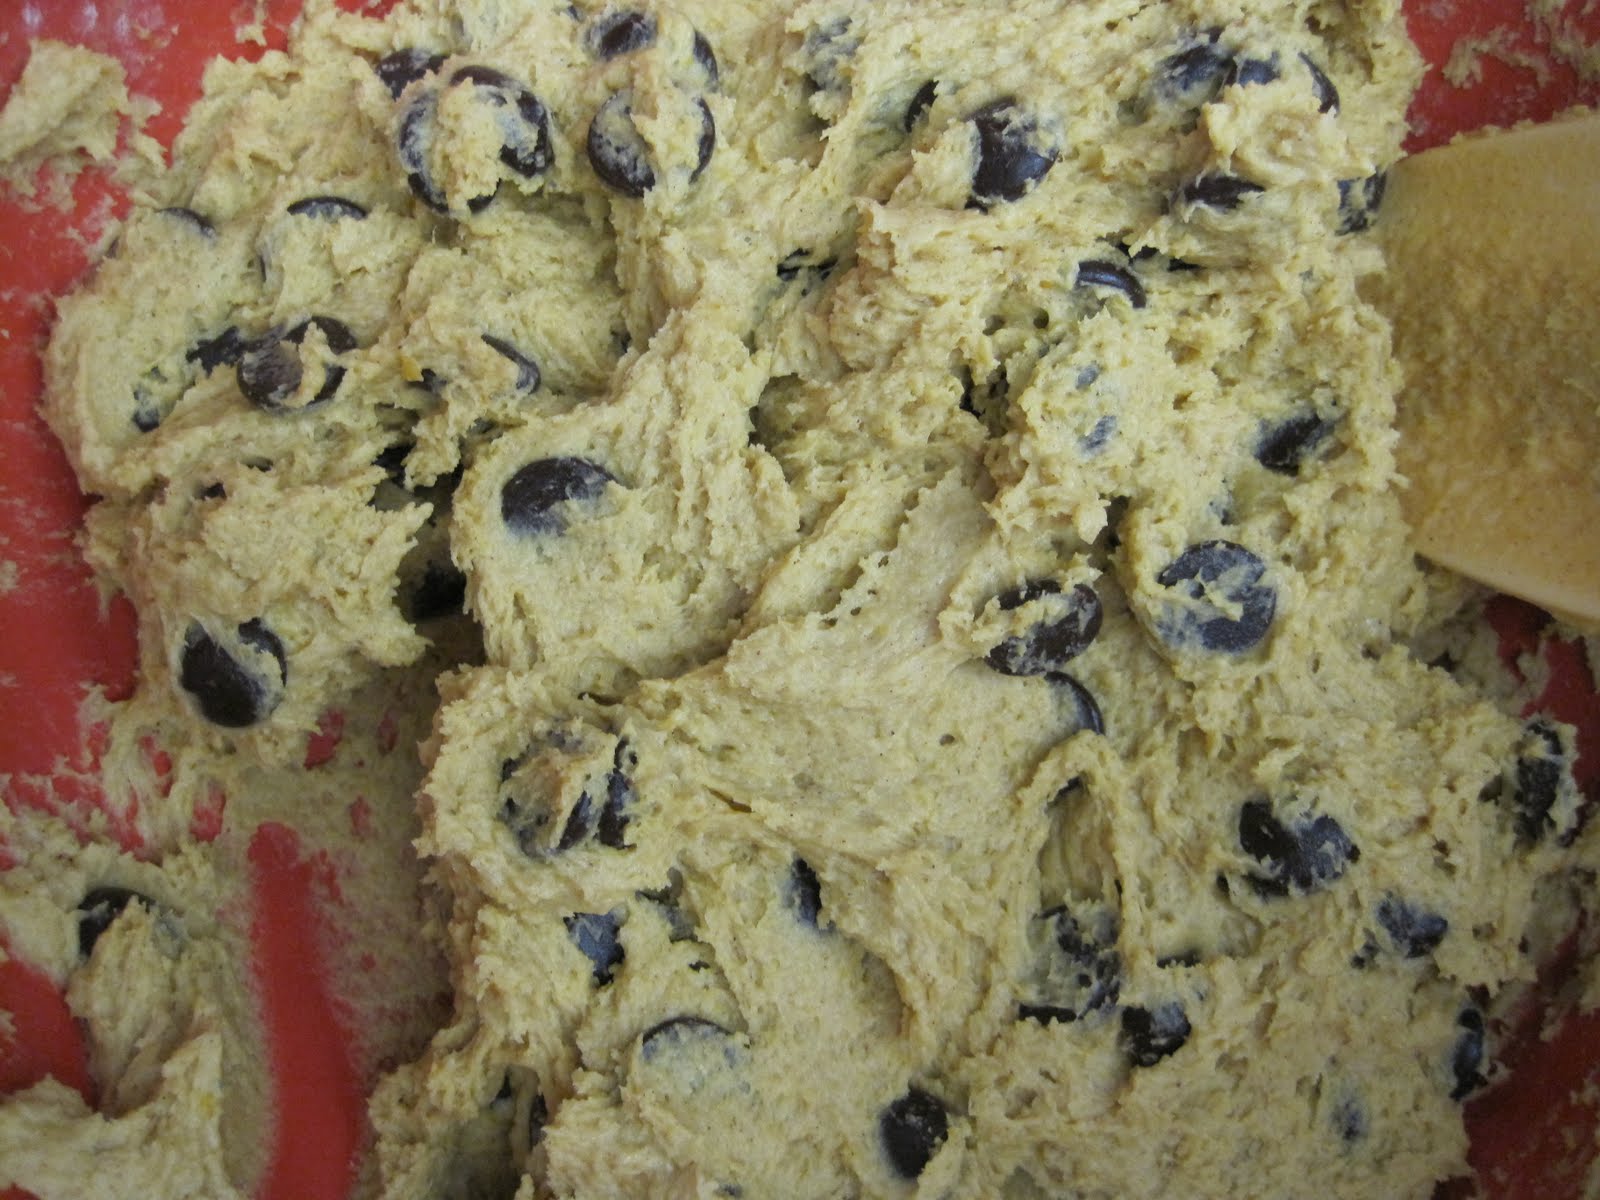
Add your chocolate chips.
Then stir just until everything is incorporated.
Drop the cookies onto a parchment-lined baking sheet.
(I love how wonky they look.)

Bake for 15 minutes.
Remove to a cooling rack.
And, enjoy the (better) beginning to the pumpkin season!

Pumpkin Chocolate Chip Cookies
Ingredients:
1/2 cup butter, at room temperature
1/2 cup sugar
1 egg, at room temperature
1 cup pumpkin
1 tsp vanilla
1 cup chocolate chips or dark chocolate cut into chunks*
2 cups flour
1 tsp baking soda
1 tsp baking powder
1/2 tsp salt
1 tsp cinnamon (heaping)
1/2 tsp ginger (heaping)
1/4 tsp fresh ground nutmeg
1/8 tsp cloves

Directions:
Preheat oven to 350, and line baking sheets with parchment. Sift dry ingredients into a medium bowl and set aside. Cream butter and sugar, at least 2 minutes. Beat in egg, pumpkin, and vanilla. Add dry ingredients to wet, mix until just combined.** Stir in chocolate chips. Drop by tablespoon onto cookie sheet. Bake until lightly browned, about 15 minutes. Remove to wire rack to cool.

*Be sure to use good chocolate chips, like Ghiradelli 60% cacao, or good dark chocolate
**I usually stir until almost incorporated, then incorporate everything when the chocolate is added, in an effort to avoid over stirring.

Thursday, February 11, 2010

Pumpkin Scones and Making Your Own Buttermilk

On November 9th, 2009, I declared that I was on 'Mission Scone Mastery'. Three months, 2 days, and 0 scones later, I am ready to recommit to the Mission.

And to prove it, I made some pumpkin scones. They came out with a very light, delicate flavor. Not too sweet, so they would be good in the morning. And, since you make them with pumpkin, they have a little bit more of a bready/biscuity texture than some other scones. Also nice for the mornings.

But, pumpkin scones aside, I have some life-changing information about buttermilk to share with you. Life-changing.

Now, I don't know about you, but I don't always have fresh buttermilk lying around in my frig. So, what do you do when you want to make scones or biscuits or muffins or anything calling for buttermilk, and you don't want to go to the store?

You make your own.

As long as you have milk and either white vinegar, cider vinegar, or lemon juice, you are in business.
Apparently, you can make buttermilke with milk and one of the aforementioned acids. Just add 1 tablespoon of the acid to 1 cup of milk, let it stand for 10 minutes, and bingo-bango: buttermilk! As I said, life-changing information here.

Back to the scones... and to making the scones. The first thing to do is cut up the butter and put it back in the frig. You want it as cold as possible for the flakiest scones possible.
Then, if you need it, make your buttermilk: I used 1/2 cup of milk and 1/2 Tablespoon of cider vinegar. And let it stand for 5 to 10 minutes.
Next, get your dry ingredients together: flour, brown sugar, cinnamon, ginger, baking powder, baking soda, and salt.
Whisk those up.
Get out your butter, and add it to the dry ingredients.
Now, use your pastry blender, and cut the butter in.
You are done when the flour mixture resembles coarse crumbs.
Now, add in some chopped, toasted pecans and raisins. (Its easy to toast nuts: put them in a dry skillet over low heat for 5 minutes, stirring frequently. They are done when you can smell them. I think pecans, especially benefit from toasting.)
Stir that up.
In another bowl, mix together your pumpkin, buttermilk, and vanilla.
Make a well in your dry ingredients, and pour your wet ingredients into the dry.
Stir until just combined. Overstirring is a very bad idea. And don't worry if the dough is sticky, it should be.
Now, you are going to want to get the dough out onto a floured surface. Speaking of floured surfaces... do you know about Silpat counter mats? Silpat mats are silicone, heat resistant mats that can fit inside baking sheets. They act as a non-stick surface, performing the same function as parchment paper. But Silpat also makes counter mats:
That's right, it is a mat big enough to cover your counter. Just imagine how easy it makes clean up. And look how much fits on it!
I am madly in love with my Silpat counter mat, and I think the world should know.

Back to the pumpkin scones... Once the dough is on your floured surface, you want to lightly knead it four or five times. Bust out your ruler. Then pat it out into a circle that is 7 inches across.
And 1 1/2 inches high.
Cut it in half, and then cut each half into four wedges. You may need to flour your knife if the dough is too sticky.
Get those on a parchment lined baking sheet, and put that baking sheet inside another baking sheet. And, if you were following the recipe, you would now coat each scone with an egg wash. If you, um, fail to read directions and overlook this step, don't worry. They will come out just fine. The egg wash is mostly to make them shiny and pretty.
Pull them out after 20 minutes, when they are just lightly browned.
Then put them on a wire rack to cool.
Something tells me Mission Scone Mastery is going to be a marvelous part of 2010.

Pumpkin Scones (from joyofbaking.com)
Ingredients:
2 cups all purpose flour
1/3 cup light or dark brown sugar
1/2 tsp ground ginger
1/2 tsp ground cinnamon
1 tsp baking powder
1/2 tsp baking soda
1/4 tsp salt
1/2 cup cold unsalted butter, cut into pieces
1/3 cup raisins
1/4 cup toasted and chopped pecans or walnuts (optional)
1/3-1/2 cup buttermilk*
1/2 cup canned pumpkin**
1 tsp pure vanilla extract

Egg wash:
1 large egg
1 tablespoon milk or cream

Directions:
Preheat oven to 400 degrees and place rack in center of the oven. Line a baking sheet with parchment paper.

In a large bowl, whisk together flour, sugar, spices, baking powder, baking soda, and salt. Cut the butter into small pieces and blend into flour with a pastry blender or two knives. The mixture should look like coarse crumbs. Stir in the raisins and pecans, if using. In a separate bowl mix together the buttermilk, pumpkin puree and vanilla and then add the buttermilk mixture to the flour mixture. Mix just until the dough comes together. Do not overmix.

Transfer to a lightly floured surface and knead dough gently four or five times and then pat the dough into a circle that is about 7 inches round and about 1 1/2 inches thick. Cut this circle in half, then cut each halt into 4 pie-shaped wedges. Place the scones on the baking sheet. Brush the tops of the scones with the egg wash.

Place the baking sheet inside another baking sheet to prevent the bottoms of the scones from over browning. Bake for about 20 minutes until golden brown and a toothpick inserted in the middle comes out clean. Transfer to a wire rack to cool.

*You can make your own buttermilk: for every 1 cup of milk, add 1 tablespoon of white distilled vinegar, cider vinegar, or lemon juice. Let it stand for 5-10 minutes.
**I would have liked a little more robust pumpkin flavor in these scones, so next time I may try adding more pumpkin

Monday, November 30, 2009

The Bicoastal Chefs present... Homemade Pumpkin Ravioli

Looking for a good challenge during our reunion, the Bicoastal Chefs decided to combine their skills and tackle homemade pasta.
And if ever there was a dish requiring all four hands, making pasta is it. It turns out kneading and rolling pasta dough is way tougher than you think. But, side by side, the Bicoastal Chefs are unstoppable.

We settled on making a pumpkin ravioli topped with a balsamic-sage brown butter. We started cooking around 7:30, figuring we would be done by 8:30. We did not eat until 11. But it did not matter at all: the fresh made pasta was absolutely delicious. Store bought pasta doesn't even compare. So, yes, fresh made pasta requires a lot of work, but it is well worth it.

So, here's how we made. We decided to use Jamie Oliver's recipe from 'Cook with Jamie', because there were step by step directions and pictures (always a bonus when taking on an epic dish).

The dough itself is very simple: flour and eggs. That's it. So, first pour your flour onto your counter.
Make a well in the middle of the flour.
Then, crack 6 eggs into that well.
Next, whisk up the eggs.
Now, for one of the first challenges. You are, slowly but surely, going to mix the flour into the eggs. You can't mix all the flour in at once; you just mix the edges in bit by bit.
The dough is incredibly sticky, but it eventually comes together.
Once you have a ball of dough, you have to knead that dough until it is smooth and silky. Warning: this takes a long time and is incredibly difficult. It will make you wish you lifted weights. We took turns for about 20 minutes, stretching, punching (not recommended), rolling, and folding. Once it is silky-smooth, pop it into the frig for 30 minutes to rest.
After 30 minutes, it is time to roll it out. This also takes a surprising amount of effort. Since we were making ravioli, we rolled out two large sheets of pasta. You know if it thin enough when you can see through it (when it has that 'window-pane' effect).
But, what about the filling, you ask? We settled on pumpkin.
So, cut the pumpkin in half, seed it, and brush it with olive oil.

Roast the pumpkin for an hour.
Once the pumpkin is done, scoop out the flesh into a cheese or terry cloth.
Then squeeze all the liquid out. You will be amazed at how much comes out.
For the filling, you are supposed to add amaretti cookies, which we could not find, so we substituted some almonds and brown sugar. It came out just fine.
For the rest of the filling, add in shallots, nutmeg, salt, pepper, the pumpkin, egg, ricotta, and parmesan.
And, voila, absolutely gorgeous pumpkin filling.
Now, to make the ravioli, place about 1 tablespoon of filling 3 inches apart on the sheets. Note that if we had to do this again, we would place the filling a little closer together (maybe every 2 inches?) to increase the filling to pasta ratio...
Brush water around the filling.
And place the other sheet on top. Press around the filling, to seal the ravioli.
In order to avoid air bubbles, it's better to start sealing the pasta from the middle - out. We learned the hard way: Time to cut it up!
And, at long last, the ravioli is ready to be cooked.
Once your water is boiling, plop the ravioli in.
And, at the same time, get your brown butter going.
Once the butter is brown, you add in the sage, take it off the heat, and stir in some balsamic.
When that is done, toss it with your drained ravioli. Be sure to do this in the pan your cooked the ravioli or brown butter in because the heat will help the ravioli absorb the sauce. We tried it in the saute pan first, but it was too small, so we threw everything in the pot we boiled the ravioli in.
Once the ravioli are coated, plate it up.
Grate some parmesan over it. And there you have it, Bicoastal-Chefs-made ravioli.
Buon Appetito!

Fresh Egg Pasta Dough
(from Cooking with Jamie)
serves 4

5 cups (1 lb 6 oz) tipo OO or pasta flour (we just used all-purpose flour)
6 large free-range or organic eggs or 12 yolks (we used 6 eggs)

Place the flour on a board or in a bowl. Make a well in the center and crack the eggs into it. Beat the eggs with a fork until smooth. Using the tips of your fingers, mix the eggs with the flour, incorporating a little at a time, until everything is combined. Knead the pieces of dough together- with a bit of work and some love and attention they'll all bind together to give you one big, smooth lump of dough!

You can also make your dough in a food processor if you've got one. Just bung everything in, whiz until the flour looks like breadcrumbs, then tip the mixture on to your work surface and bring the dough together into one lump, using your hands.

Once you've made your dough you need to knead and work it with your hands to develop the gluten in the flour, otherwise your pasta will be flabby and soft when you cook it, instead of springy and al dente.

There's no secret to kneading. You just have to bash the dough about a bit with your hands, squashing it into the table, reshaping it, pulling it, stretching it, squashing it again. It's quite hard work, and after a few minutes it's easy to see why the average Italian grandmother has arms like Frank Bruno! You'll know when to stop- it's when your pasta starts to feel smooth and silk instead of rough and floury. Then all you need to do it wrap it in plastic wrap and put it in the fridge to rest for at least half an hour before you use it. Make sure the plastic wrap covers it well or it will dry out and go crust around the edges (this will give you crust lumps through your pasta when you roll it out, and nobody likes crusty lumps!)

How to roll your pasta:
First of all, if you haven't got a pasta machine it's not the end of the world! All the mammas I met while traveling round Italy rolled pasta with their trusty rolling pins and they wouldn't even consider having a pasta machine in the house! When it comes to rolling, the main problem you'll have is getting the pasta thin enough to work with. It's quite difficult to get a big lump of dough rolled out into one piece, and you need a very long rolling pin to do the job properly. The way around this is to roll lots of small pieces of pasta rather than a few big ones.

Dust your work surface with some flour, take a lump of pasta dough the size of a large orange and press it with your fingertips.

Then... roll.

Whether you're rolling by hand or by machine you'll need to know when to stop. If you're making a pasta like tagliatelli, lasagne, or stracchi, you'll need to roll the pasta down to between the thickness of a beer may and a playing card; if you're making a stuffed pasta like ravioli or tortellini, you'll need to roll it down slightly thinner or to the point where you can clearly see your hand or lines of newspaper print through it.

Once you've rolled your pasta the way you want it, you need to shape or cut it right away. Pasta dried much quicker than you think, so whatever recipe you're doing, don't leave it more than a minute or two before cutting and shaping it. You can lay over it a damp clean tea towel which will stop it from drying.

Pumpkin Ravioli with Sage Brown Butter (adapted from a marthastewart.com recipe)

1 3-pound sugar pumpkin or butternut squash
4 teaspoons extra-virgin olive oil
2 teaspoons light-brown sugar
1 large egg
1/4 cup Locatelli cheese*
3 large or 6 small amaretti cookies, curshed**
2 tablespoons fresh ricotta cheese
1 tsp shallots, chopped
Pinch of nutmeg
Coarse salt and freshly ground black pepper
Fresh pasta
1 tablespoon semolina flour***
1/2 cup unsalted butter
1 tablespoon freshly chopped sage
2 tablespoons balsamic vinegar

Directions
Preheat oven to 375 degrees. On a work surface, cut pumpkin in half lengthwise. Scoop out seeds (save to roast!). Transfer to a parchment-lined baking sheet. Drizzle olive oil evenly over insides of pumpkin halves; rub 1/2 tsp brown sugar into each. Roast, cut-side down, until pumpkin is easily pierced with a knife, about 1 hour. Let cool.

When cool enough to handle, scoop out flesh with a spoon. You'll need 1 1/2 cups of puree. Transfer flesh to a clean kitchen towel or cheesecloth; wring excess liquid into a bowl. Place flesh in the bowl of a food processor, along with eggs, Locatelli, amaretti, ricotta, shallot, and nutmeg. Process until smooth. Season with salt and pepper.

Lay 1 pasta sheet on work surface. Place 1 tablespoon filling every 3 inches. Brush water around filling. Place another sheet on top, pressing around filling to seal.**** Using a fluted pastry wheel (knife, or pizza cutter), cut each ravioli into a 3-by-3 inch square. Repeat with remaining pasta sheets and filling. Transfer ravioli to a parchment-lined baking sheet sprinkle with semolina; freeze for at least 30 minutes.*****

Bring a large pot of water to boil; season with salt. Add ravioli. Cook until it just floats, 3 to 4 minutes.

In a large saute pan, melt butter over high heat. Add sage; cook until butter begin to brown and sizzle, about 1 minute. Remove pan from heat; whisk in balsamic. Using a slotted spoon, transfer ravioli to pan, tossing to combine. Serve immediately with Parmesan cheese.

*We used Parmesan
**Although amaretti cookies may seem strange to us, they are a traditional ingredient. We substituted almonds and 2 tbs of brown sugar
***We used all-purpose
****Start pressing from the middle and working outwards, to try and avoid air bubbles. If you do have air bubbles, just work them out.
*****We skipped this step because we let the dough rest in the frig.